Seoul’s subway system is world-class, but to a first-time foreign visitor, it can look like a complex spider web. To help beginner travelers navigate with ease, we will walk you through the entire process step-by-step, from the moment you enter the station to safely boarding and getting off your train.
💡 Before You Start
To navigate the complex Seoul subway without getting lost, the ‘Naver Map’ app is essential. If you haven’t checked it out yet, we highly recommend reading [🔗 Part 5. Ditch Google Maps? The Ultimate Naver Map Guide] first!
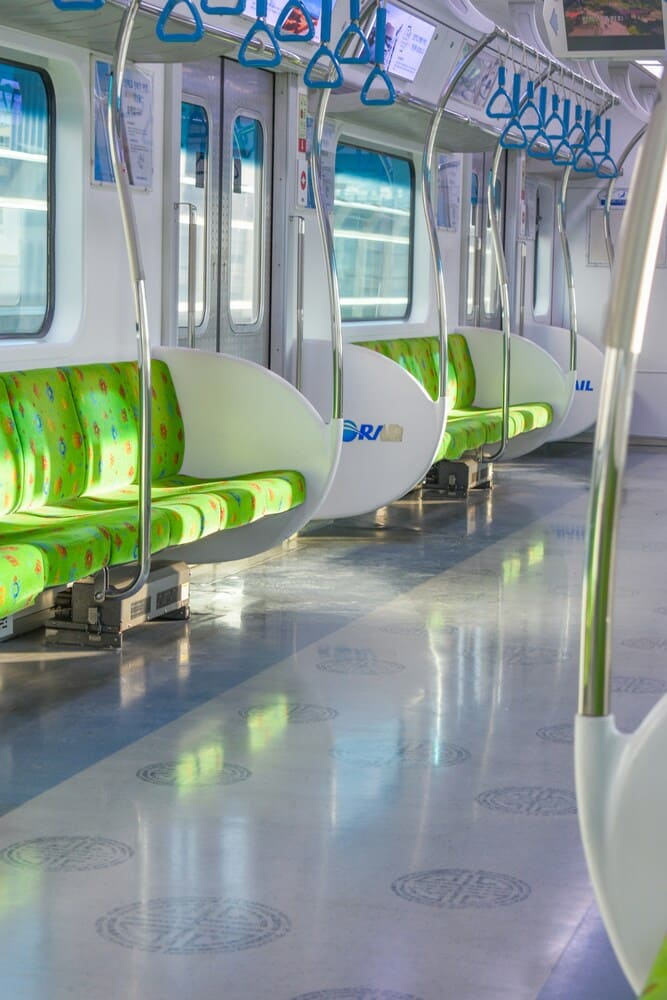
1. Seoul Subway Lines & Essential Routes for Tourists
The Seoul subway might look intimidating like a spider web, but it is strictly organized by ‘Color,’ making navigation a breeze.
🌈 Color by Line
Line 1 (Dark Blue), Line 2 (Green), Line 3 (Orange), Line 4 (Light Blue), Line 5 (Purple), Line 6 (Brown), Line 7 (Olive), Line 8 (Pink), and Line 9 (Gold) every line has its own distinct color so that even tourists can easily distinguish them. Just follow the colored lines painted on the floors or signs, and anyone can easily find their way.
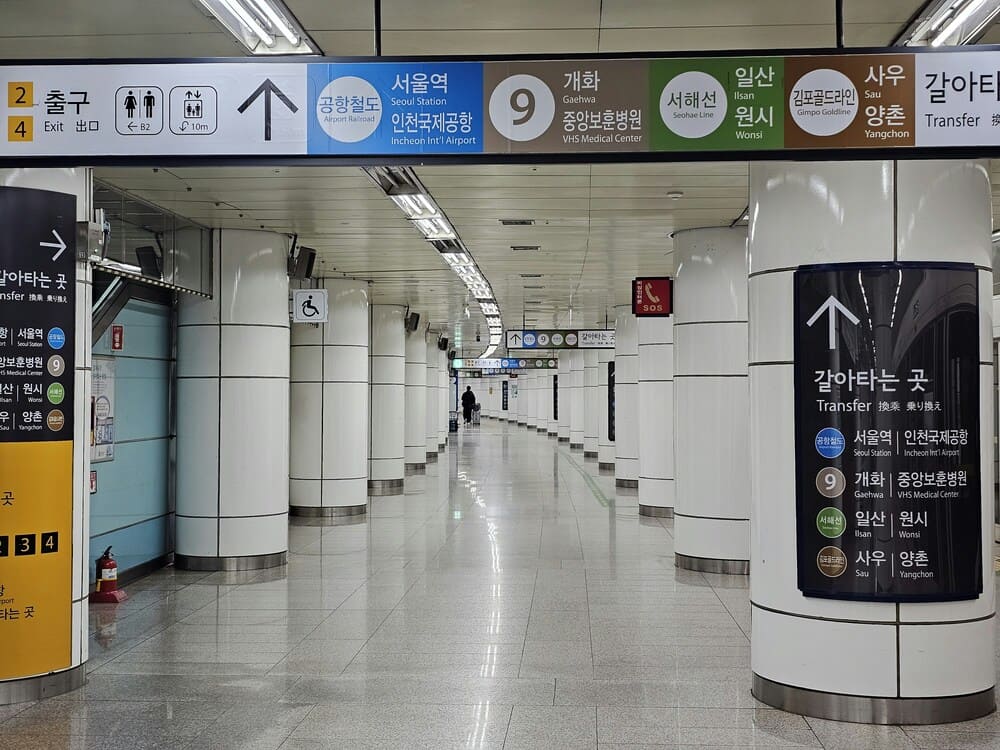
Here are the characteristics and tips for the key lines that foreign tourists will use the most during a short trip to Seoul.
- 🟢 Line 2 (Green / Circle Line): This line circles through Seoul’s trendiest hotspots like Hongdae, Gangnam, Seongsu, and Jamsil. It is also the main commuter route for Seoul citizens. Therefore, during weekday rush hours (08:00–09:00 and 18:00–19:00), it turns into a suffocating “hell train,” so we highly recommend avoiding these times.
- 🟠 Line 3 (Orange): This line neatly connects beautiful traditional sites like Gyeongbokgung and Anguk (Bukchon Hanok Village) to the Gangnam area (Express Bus Terminal shopping mall). However, the waiting time between trains is slightly longer compared to other major lines.
- 🔵 Line 4 (Light Blue): Passing through Seoul Station, this line connects essential shopping courses for foreigners, including Myeongdong, Namdaemun, and Dongdaemun. Because it is heavily used by both tourists and locals, the trains can get quite cramped..
- 🟤 Line 9 (Gold): This is the fastest way to get from Gimpo Airport (GMP) to Gangnam and COEX (Bongeunsa). However, both ‘Express’ (which stops at fewer stations) and ‘All Stop’ trains take turns coming into the exact same platform. You must carefully check the electronic boards and train signs before boarding.
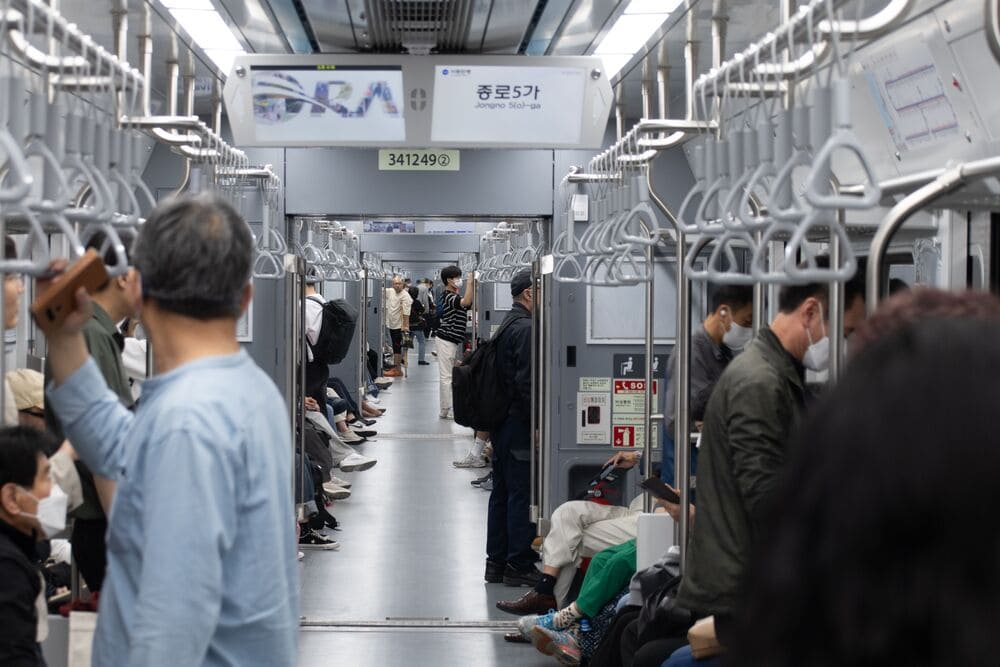
2. The Platform Trap: Express vs. All Stop Trains
The Korean subway also operates ‘Express’ trains. The system might differ from other countries, but we will explain it in detail so even beginners can use it easily.
The biggest characteristic is that All Stop trains and Express trains take turns using the ‘exact same platform’. If you board blindly just because a train has arrived, you might blast right past your destination without stopping!
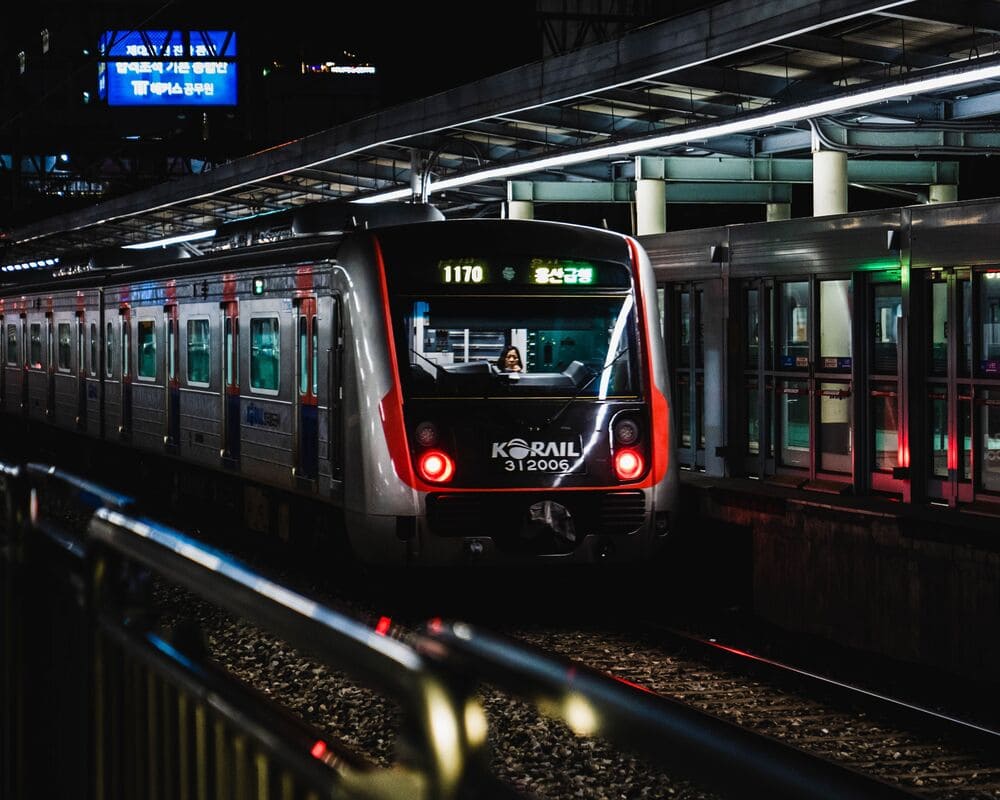
💡 3 Surefire Tips to Spot an Express Train
- 🔴 Look for Red: If the electronic board or the exterior of the train displays ‘Express’ in red text, it is an express train. (All Stop trains use green or blue text).
- 🎧 Listen to Audio Announcements: As the train approaches, an English announcement will state, “This train is an Express train…”
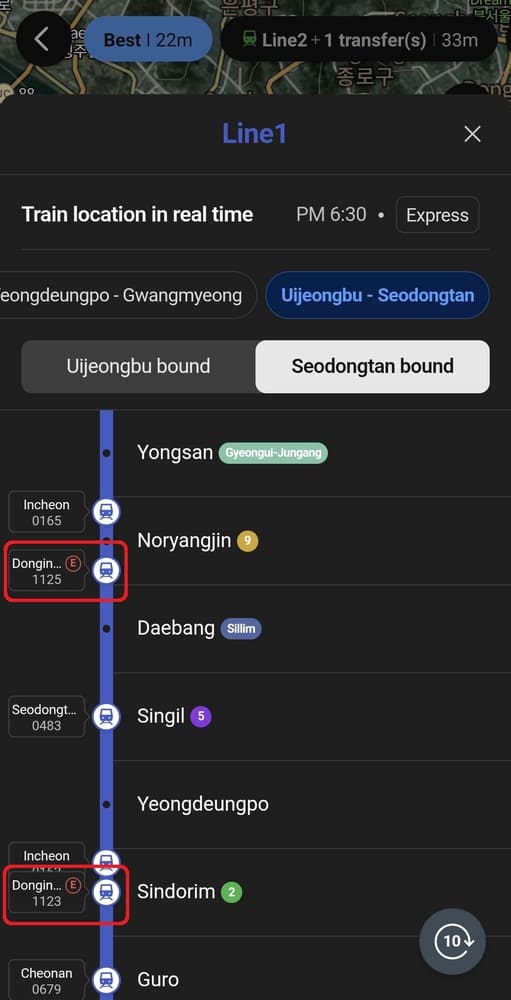
- 🗺 Check Naver Map in Real-Time: By using the Naver Map app, you can accurately track in real-time whether the incoming train is an Express or an All Stop train.
3. Merciless Turnstiles & Transit Card Warnings
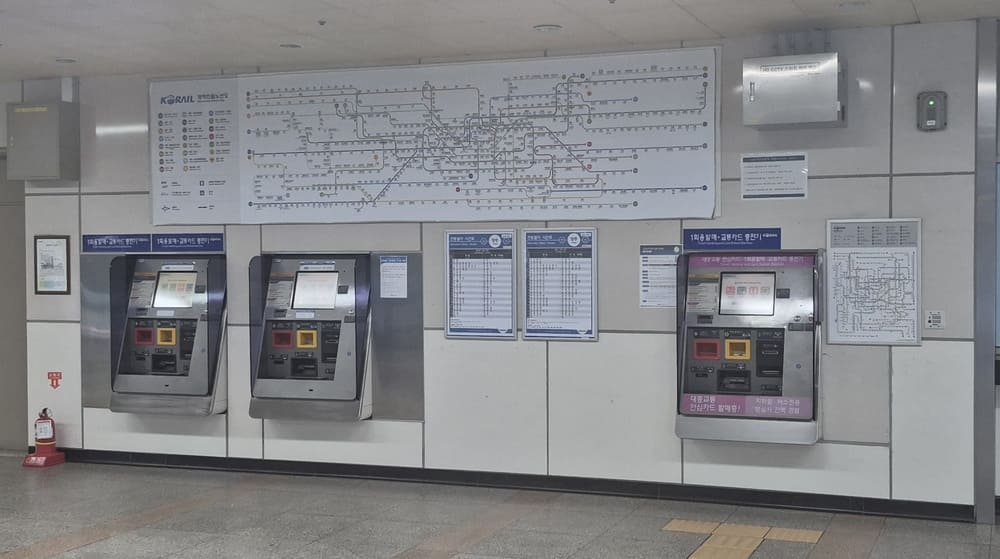
If you don’t have a transit card yet (as discussed in [🔗 Part 6. WOWPASS vs. T-money: Which Payment & Transit Card Setup Fits Your Trip Best?]), you must purchase a Single Journey Ticket from the unmanned vending machines before passing through the turnstiles. However, Single Journey Tickets do not offer bus transfer discounts. If you plan to use public transit often, we strongly recommend buying a T-money card at a convenience store inside (or near) the subway station.
⚠️ Crucial Warnings for Buying & Reloading Transit Cards (Cash is King!)
- 💵 T-money Reloads are Cash Only!: While you can buy the physical T-money card with a credit card at a convenience store, reloading (topping up) the balance must be done strictly with cash.
- 🎫 Ticket Vending Machines are Cash Only: You cannot use credit cards at Single Journey Ticket vending machines either. (Always carry a little cash when riding the Korean subway!)
- 💰 500 KRW Deposit Refund: Single Journey Tickets require a 500 KRW deposit on top of the base fare. After arriving at your destination and exiting the turnstile, insert the used card into a ‘Deposit Refund Device’ to get your 500 KRW back.
🚨 Absolute Rules for Passing Through Turnstiles
Once your card is ready, it’s time to pass through the turnstile. Here are the turnstile rules that confuse first-time travelers the most.
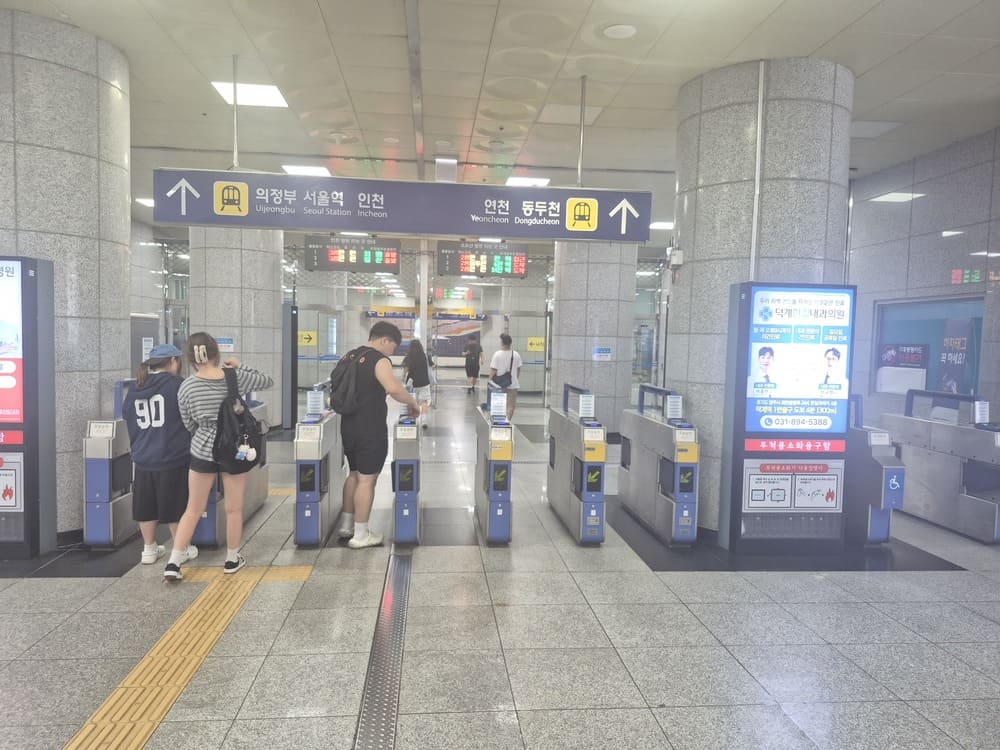
- ➡️ Tap on the Right, Walk on the Left: The card reader on Korean subway turnstiles is always located on your ‘right’ side. Tap your card on the right sensor and walk through the space immediately to its left. Be careful not to tap the reader on your left, as the gate will snap shut!
- 💳 Tap, Not Insert: Whether it’s a Single Journey Ticket or a T-money card, there is no slot to insert your card. Lightly ‘tap’ your card on the terminal sensor (the T-money logo area) as you walk through.
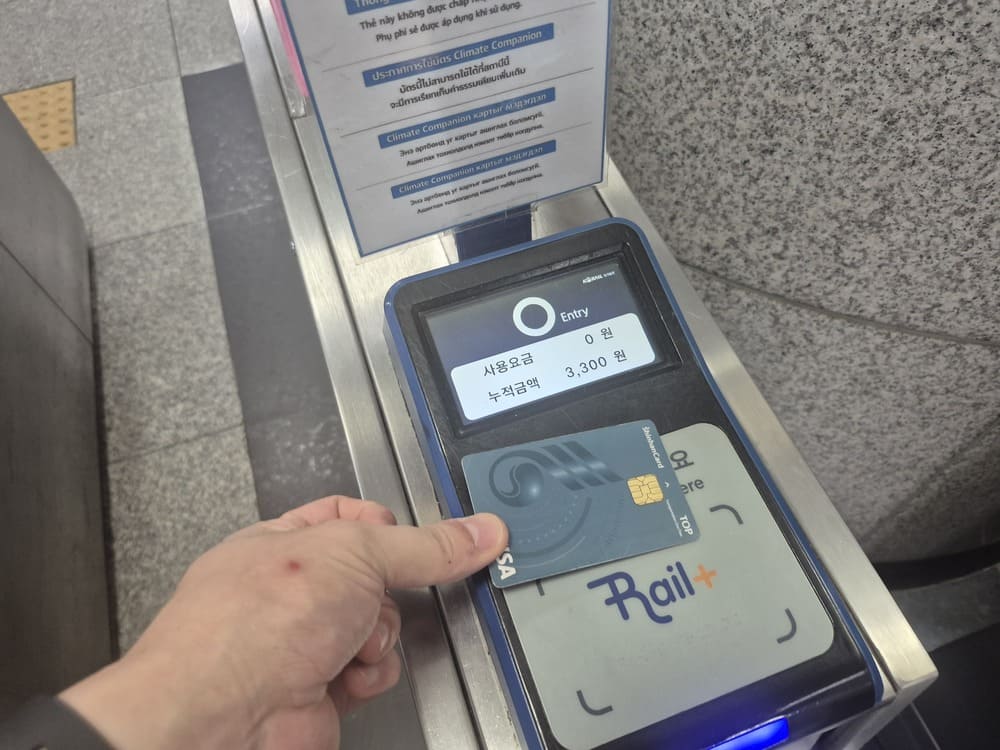
- 🛑 Don’t just walk through an open gate: Korean subway turnstiles usually stay wide open. However, if you walk through without tapping your card, the gate will snap shut! Always tap your card before passing.
- 🧳 Luggage and Strollers MUST use the ‘Wide Gate’: Regular turnstiles are narrow, and large luggage or strollers can easily get stuck. There is always a ‘Wide Gate’ (usually with a wheelchair symbol) located at the far left or right of the turnstiles. Use this gate if you have a lot of luggage.
4. Upbound vs. Downbound: Finding Your Exact Direction
After passing the turnstiles, you usually face two scenarios: separate ‘Left/Right stairs’ or a single ‘Central stair’ where you choose your direction down on the platform.
Don’t panic even if the station layouts differ! Here is the surefire survival rule for finding the exact direction of the train you need to board.
🎯 The Rule to Avoid Going the Wrong Way
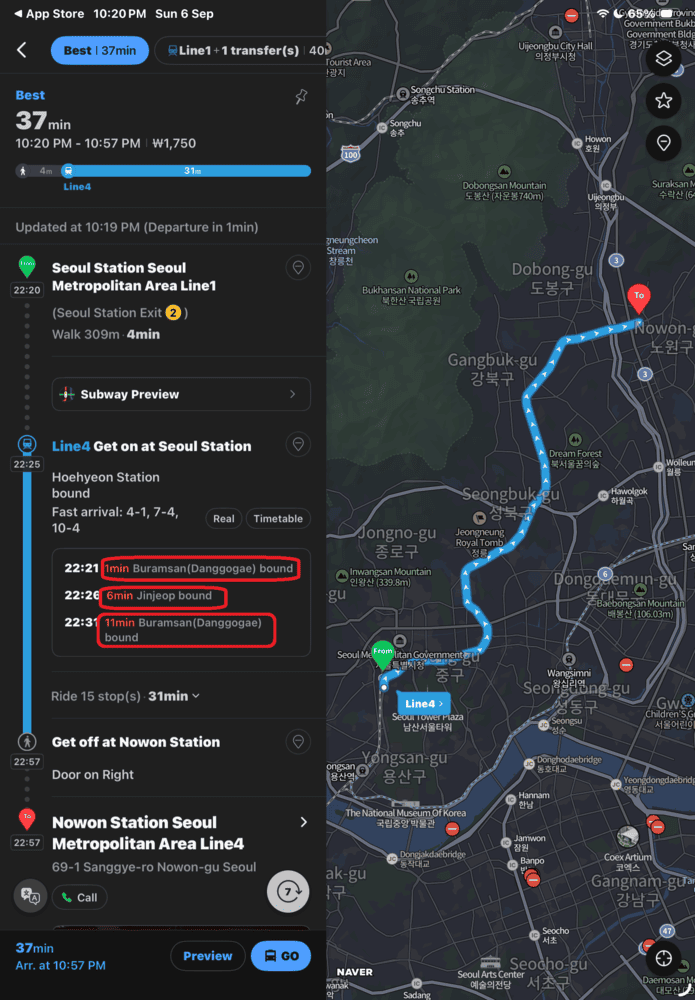
- 📱 Match Naver Map with Station Signs: When using Naver Map, it will show your required direction, such as “Bound for Myeongdong” or “Bound for Danggogae (Line 4).” Check this first, then look at the overhead signs to find the arrow pointing to that exact station. (If it’s a central stair layout, check the signs on both sides of the platform after going down the stairs.)
🚨 Survival Alert: What to do if you enter the wrong direction gate
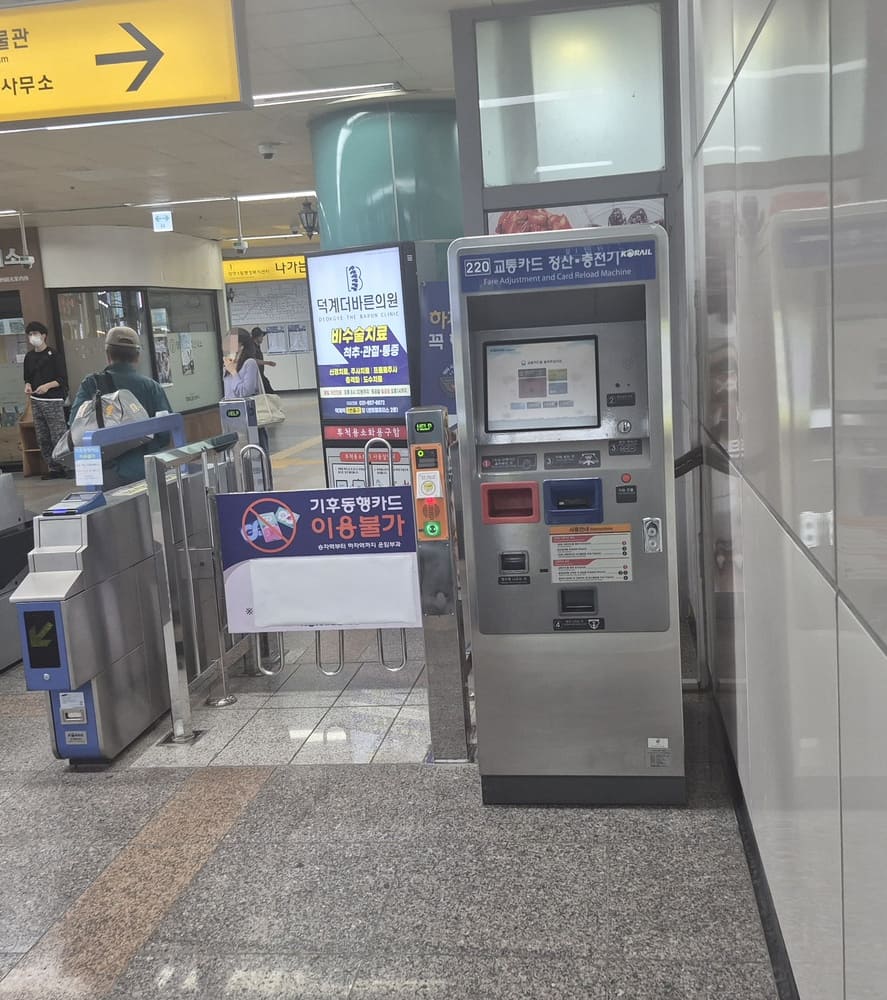
Some subway stations in Korea have ‘separate turnstiles for each direction,’ meaning you cannot cross over to the opposite platform once inside. If you mistakenly tap into the wrong side, your solution depends entirely on your transit card type!
- 💳 T-money / WOWPASS Users (15-Minute Free Rule): Don’t panic. Tap your card to exit the turnstile, walk over to the correct direction’s turnstile, and tap in again. As long as it is within ’15 minutes’ at the same station and same line, it counts as a free transfer, and no extra fare is charged!
- 🎟 Single Journey Ticket Users (Absolute Caution!): The 15-minute free re-entry rule does not apply to single journey tickets! The moment you tap to exit, you will need to pay again, so absolutely do not tap your card. Instead, press the red ‘HELP’ call button located next to the turnstiles and ask the station staff for assistance. They will open the emergency gate for you.
👉 Next UP: Did you successfully board the train? In the next part, we will cover everything from boarding etiquette to safely getting off at your destination. The real practical tips continue in [🔗 Part10. Seoul Subway Survival Guide: Finding Exits & Practical Etiquette]! Stay tuned!